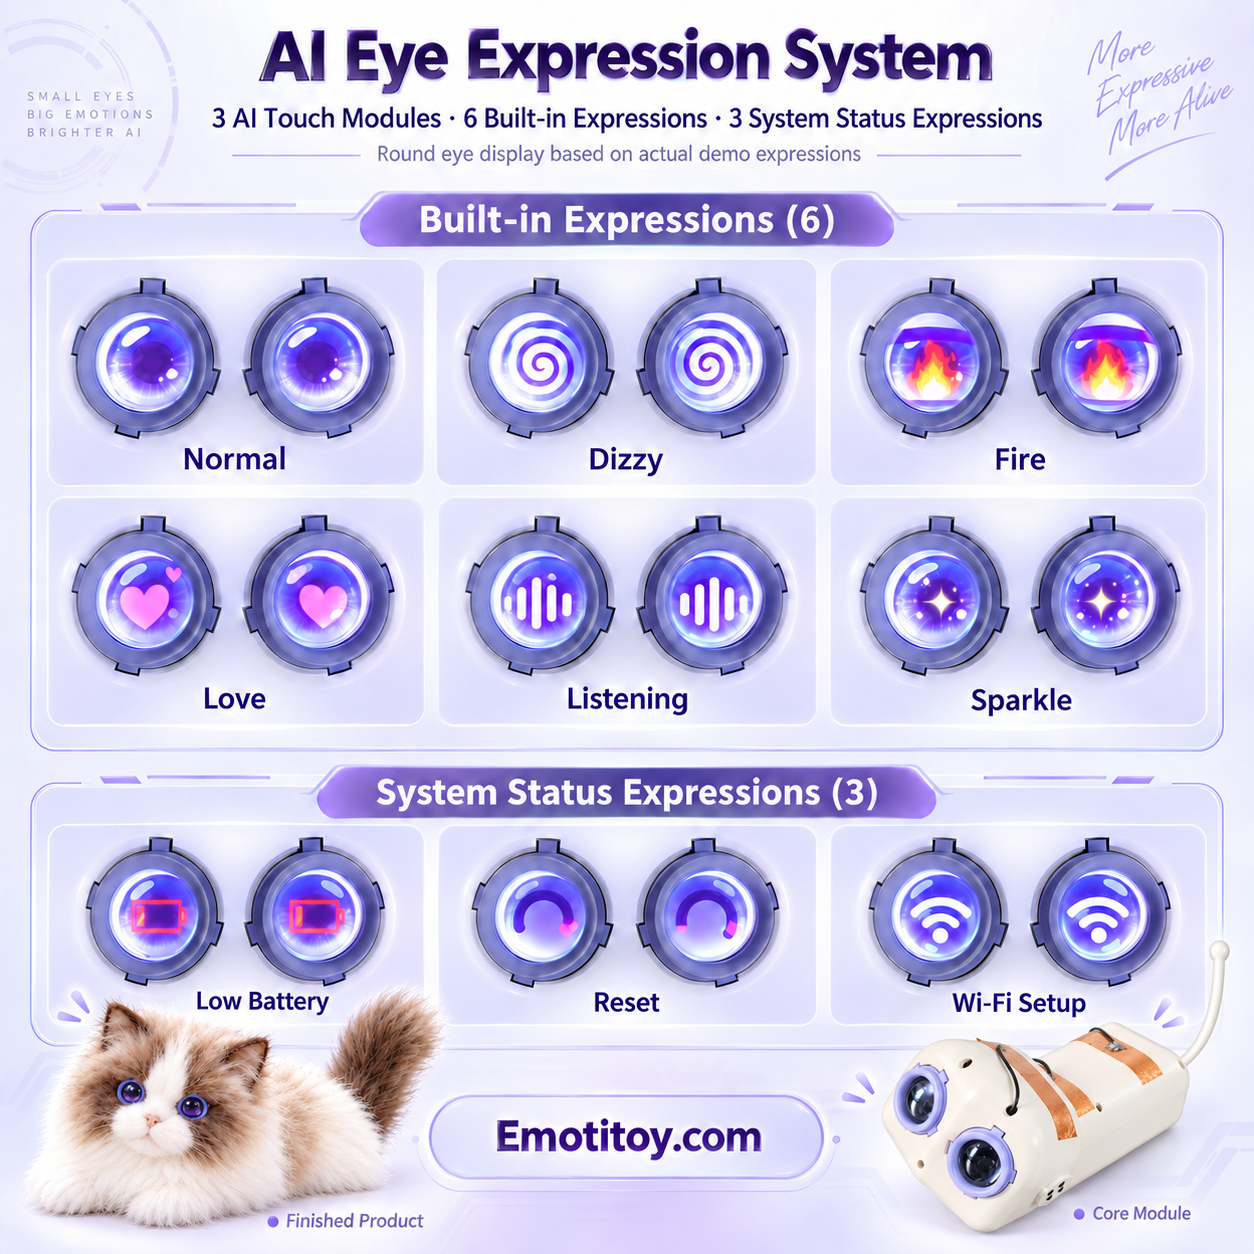
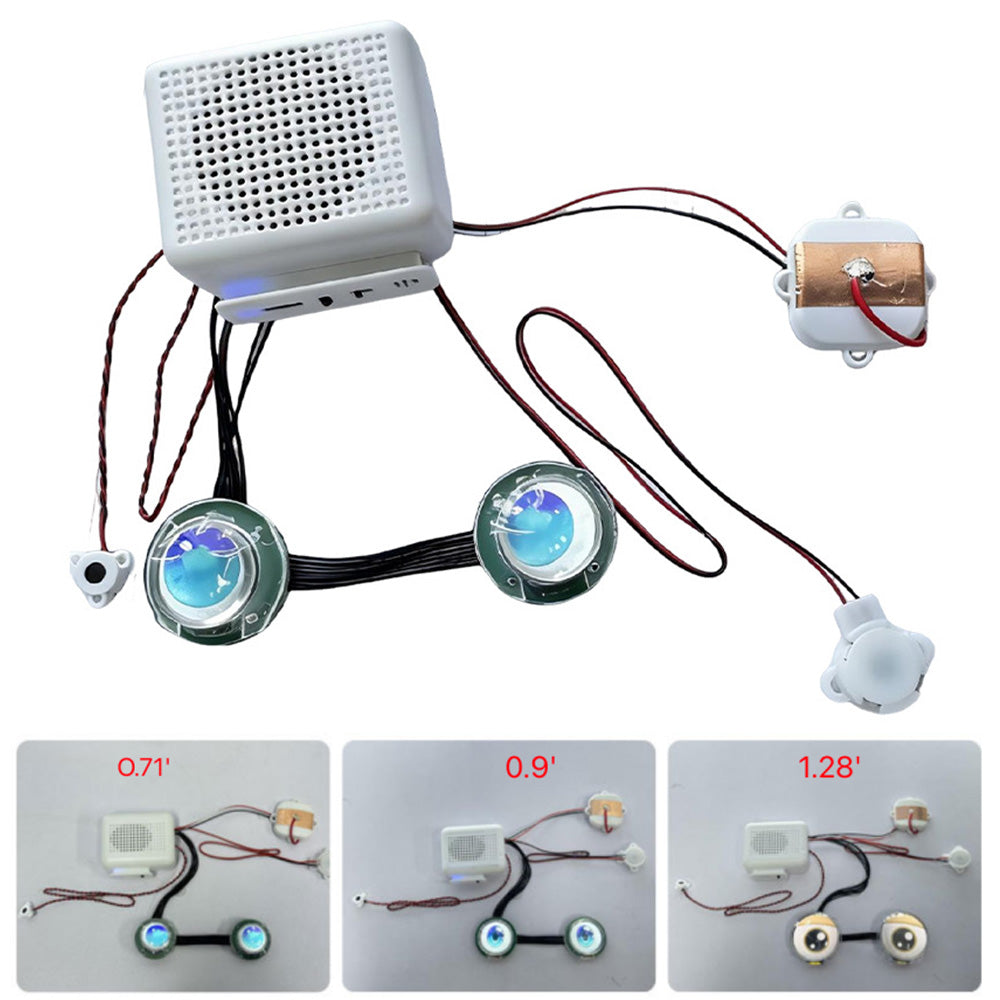
A working AI demo on a development board is not yet a production-ready AI toy.
When a product moves toward a custom PCBA, the engineering team must combine audio, power, wireless connectivity, sensors and manufacturing requirements into one compact board that can operate reliably inside the final enclosure.
For AI plush toys and smart companions, the PCBA is especially challenging because the board often sits close to a speaker, battery, antenna, motors and soft materials.
A good layout therefore starts with the complete product architecture rather than only the schematic.
1. Define the System Before Drawing the PCB
Before the PCB layout begins, confirm the main interfaces:
- processor or wireless module,
- microphone type and quantity,
- speaker and amplifier,
- battery and charging circuit,
- buttons and touch inputs,
- LEDs or displays,
- servo or motor outputs,
- USB or charging connector,
- debug/service interface,
- antenna location,
- and any external sensors.
This prevents the PCB from becoming a collection of late additions.
2. Audio Is a System, Not Just a Microphone
Voice AI depends heavily on input quality.
The microphone circuit, physical microphone location, speaker, amplifier and enclosure should be evaluated together.
Key questions include:
- How far is the microphone from the user's mouth?
- Is the speaker close enough to create strong echo?
- Does the plush material cover the acoustic opening?
- Is a single microphone enough?
- Is echo cancellation required?
- Does motor noise enter the microphone path?
A cloud AI service cannot recover speech that was captured poorly at the hardware level.
3. Speaker and Amplifier Design Affect Both Audio Quality and Power
AI toys often use a small internal speaker.
The speaker path must balance:
- intelligibility,
- loudness,
- enclosure size,
- battery current,
- distortion,
- and acoustic leakage into the microphone.
A louder amplifier is not always better.
For a plush product, a clear voice at moderate volume can be more valuable than maximum sound pressure.
4. Power Architecture Should Cover Peak Loads
Average current is only part of the story.
An AI toy may create short current peaks when:
- Wi-Fi transmits,
- the speaker plays loudly,
- a display changes,
- LEDs activate,
- or servos move.
The power system should be designed for the combined product behavior rather than each component in isolation.
Battery selection, regulator design and decoupling should therefore be validated on the integrated prototype.
5. Wireless Layout Needs Space
Wi-Fi and Bluetooth performance can be affected by the physical layout around the antenna.
For platforms such as ESP32-S3, Espressif publishes dedicated hardware-design and PCB-layout guidance covering antenna and RF-related placement considerations.
These values are specific to the selected hardware platform, but the general lesson applies broadly:
the antenna cannot be treated as an afterthought.
It should be considered together with:
- battery position,
- speaker magnet,
- metal parts,
- PCB ground,
- enclosure,
- and final product orientation.
6. The Final Toy Body Can Change RF Performance
A board that performs well on an open engineering bench may behave differently inside the finished toy.
The final structure may include:
- plastic internal box,
- plush fabric,
- stuffing,
- battery,
- wiring,
- displays,
- motors,
- and other electronics.
For this reason, wireless testing should be repeated after the electronics are installed in the final mechanical structure.
7. Charging and Battery Interfaces Need Product-Level Planning
Battery architecture influences:
- operating time,
- charging time,
- enclosure design,
- cable access,
- thermal behavior,
- and certification scope.
A removable electronics box may use a different charging strategy from a permanently integrated module.
The PCBA should be designed around the intended service and charging experience.
8. Touch, Buttons and Sensors Need Stable Interfaces
Interactive toys may use:
- capacitive touch,
- physical buttons,
- pressure or squeeze sensors,
- motion sensors,
- or other triggers.
These inputs should be mapped early because they affect PCB connectors, firmware and internal wiring.
For a plush product, cable routing is also important. Excess wiring can make assembly slower and increase failure risk.
9. Servo and Motor Outputs Need Separate Consideration
Moving AI toys add another load category.
Motors and servos can introduce:
- current peaks,
- electrical noise,
- mechanical vibration,
- and additional connectors.
They should not simply be added to a voice board at the end of development without reviewing the power and mechanical architecture.
A movement prototype should test the electronics and mechanical structure together.
10. Board Size Should Follow the Product, Not the Development Kit
Development boards are convenient because they expose many connectors and debugging features.
Production boards usually need to be smaller and more focused.
A custom PCBA can remove unused functions and place connectors where the final assembly needs them.
For plush products, this can reduce the size of the internal electronics box and improve comfort and appearance.
11. Design for Assembly
A board is not successful if it is difficult to assemble into the product.
Useful DFM questions include:
- Are connectors easy to access?
- Can operators connect the microphone and speaker correctly?
- Are left/right or polarity-sensitive cables clearly defined?
- Is the board easy to secure in the internal enclosure?
- Can the battery be replaced during manufacturing if necessary?
- Are cables protected from moving parts?
These details can have a large effect on mass-production consistency.
12. Design for Test
Production testing should be considered before the board is finalized.
A factory may need to verify:
- power-on,
- charging,
- wireless connectivity,
- microphone input,
- speaker output,
- buttons or touch sensors,
- display or LEDs,
- and motor outputs where applicable.
The goal is to identify assembly or component problems before the electronics are permanently integrated into the finished toy.
13. Firmware Version Should Be Part of the Production Record
Two physically identical PCBAs can behave differently if they contain different firmware versions.
A production system should therefore keep firmware version under control.
This becomes even more important for OTA-enabled products because the factory firmware and later cloud-updated firmware may differ.
14. Start With an Engineering Prototype, Then Optimize
A practical development path can be:
development board / reference board
→
functional engineering prototype
→
custom PCBA
→
integrated toy prototype
→
production validation
This lets the team validate the architecture before paying for unnecessary board revisions.
15. A PCBA Review Checklist
Before releasing a custom AI-toy board, confirm:
- Processor/module selected for the real use case.
- Microphone architecture validated.
- Speaker and amplifier validated.
- Battery and charging strategy defined.
- Peak power behavior tested.
- Antenna and RF layout reviewed.
- Final enclosure impact considered.
- Sensor and touch interfaces defined.
- Motor/servo loads reviewed where applicable.
- Connector locations match assembly needs.
- Board size fits the internal structure.
- Production test method is defined.
- Firmware release process is defined.
- OTA path is considered where required.
- Final integrated prototype is tested before mass production.
PCBA Engineering Connects the Digital Product to the Physical Toy
The AI model may run in the cloud, but the customer experiences the product through real hardware.
Microphone quality, speaker clarity, wireless reliability, battery behavior and sensor response all depend on the electronics inside the toy.
That is why a production AI toy needs both AI software engineering and conventional embedded-hardware discipline.
Official Sources
- Espressif — ESP32-S3 Hardware Design Guidelines
https://docs.espressif.com/projects/esp-hardware-design-guidelines/en/latest/esp32s3/
- Espressif — ESP32-S3 Schematic Checklist
https://docs.espressif.com/projects/esp-hardware-design-guidelines/en/latest/esp32s3/schematic-checklist.html
- Espressif — ESP32-S3 PCB Layout Design
https://docs.espressif.com/projects/esp-hardware-design-guidelines/en/latest/esp32s3/pcb-layout-design.html
- Espressif — Audio Front-End Framework
https://docs.espressif.com/projects/esp-sr/en/latest/esp32s3/audiofrontend/README.html